,%20Imperia)?unique=071daf9)
,%20Imperia)?unique=071daf9)


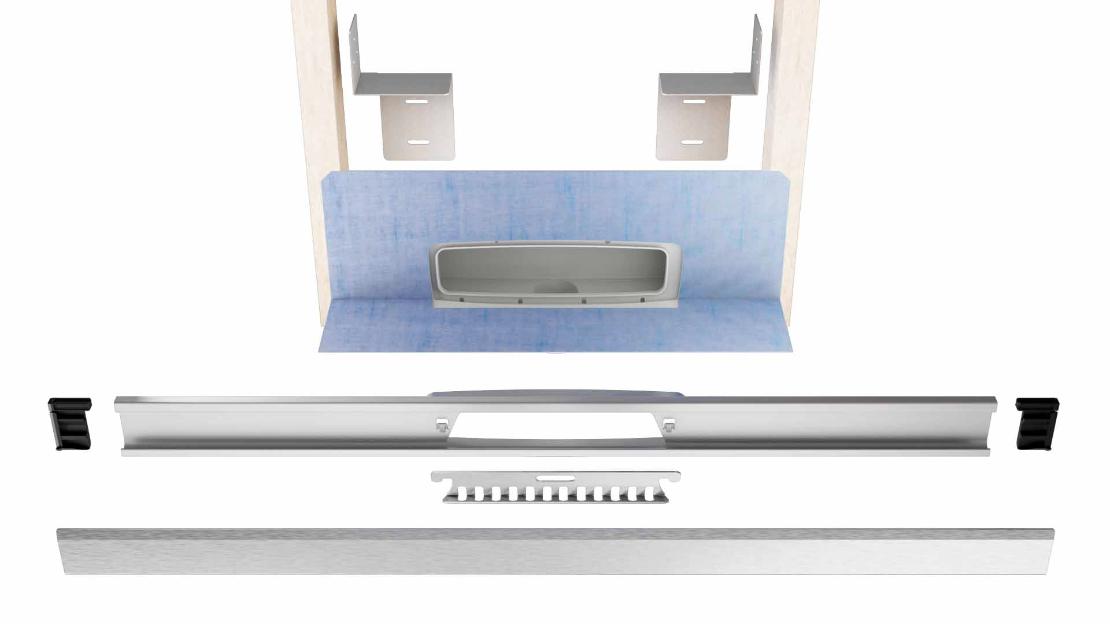
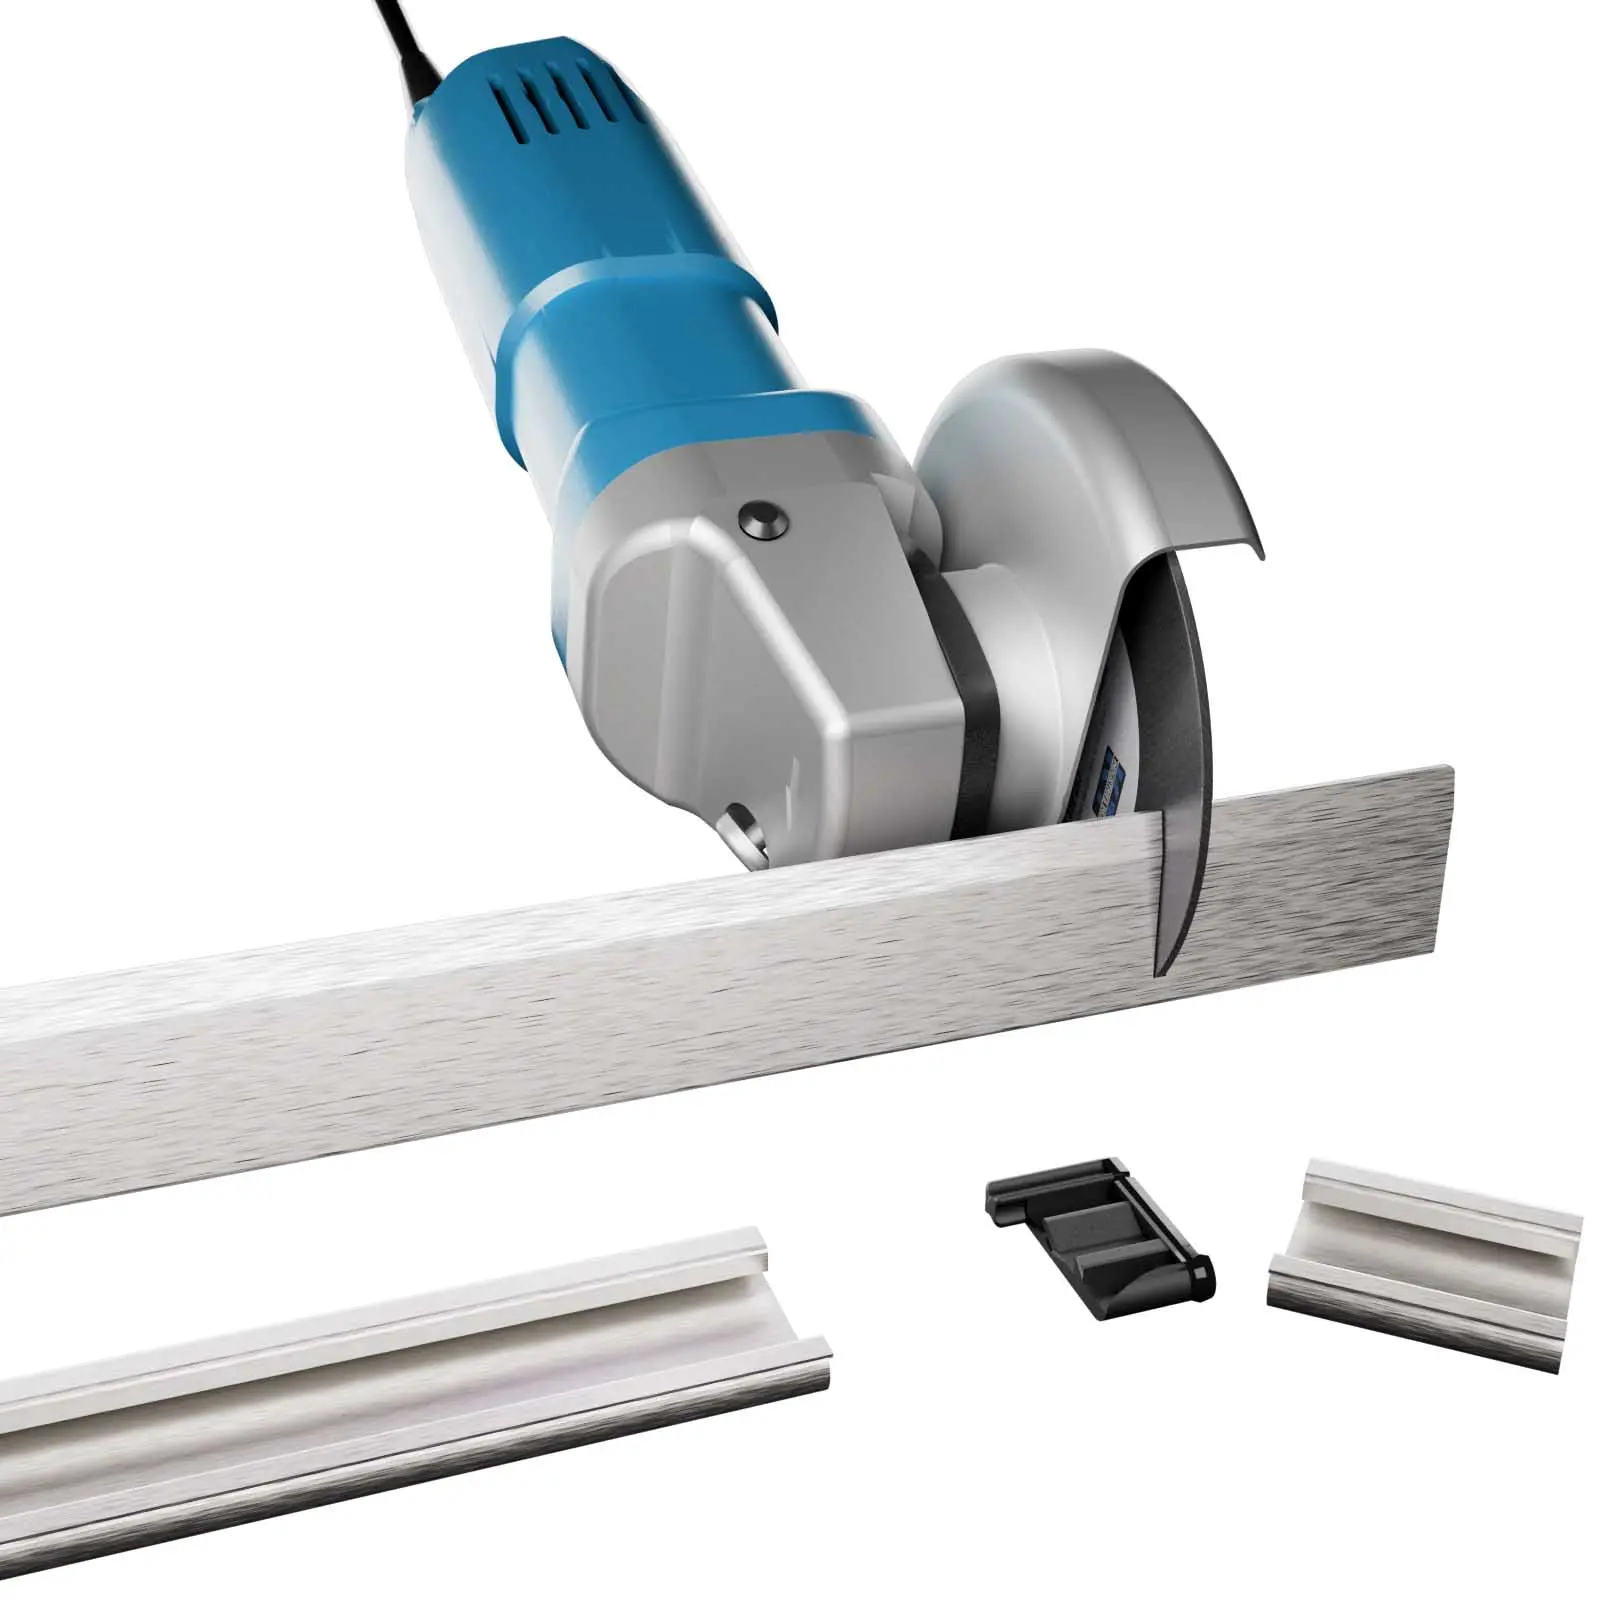
Easy-to-cut Structure
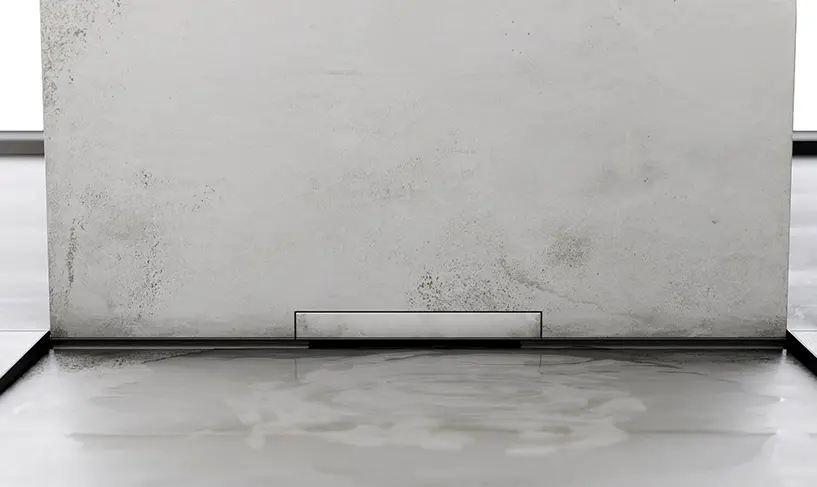
WallLine comes in sizes ranging from 11 3/16" to 47 1/4" and can be cut to your exact specifications for a perfect fit. Designed for effortless customization and installation
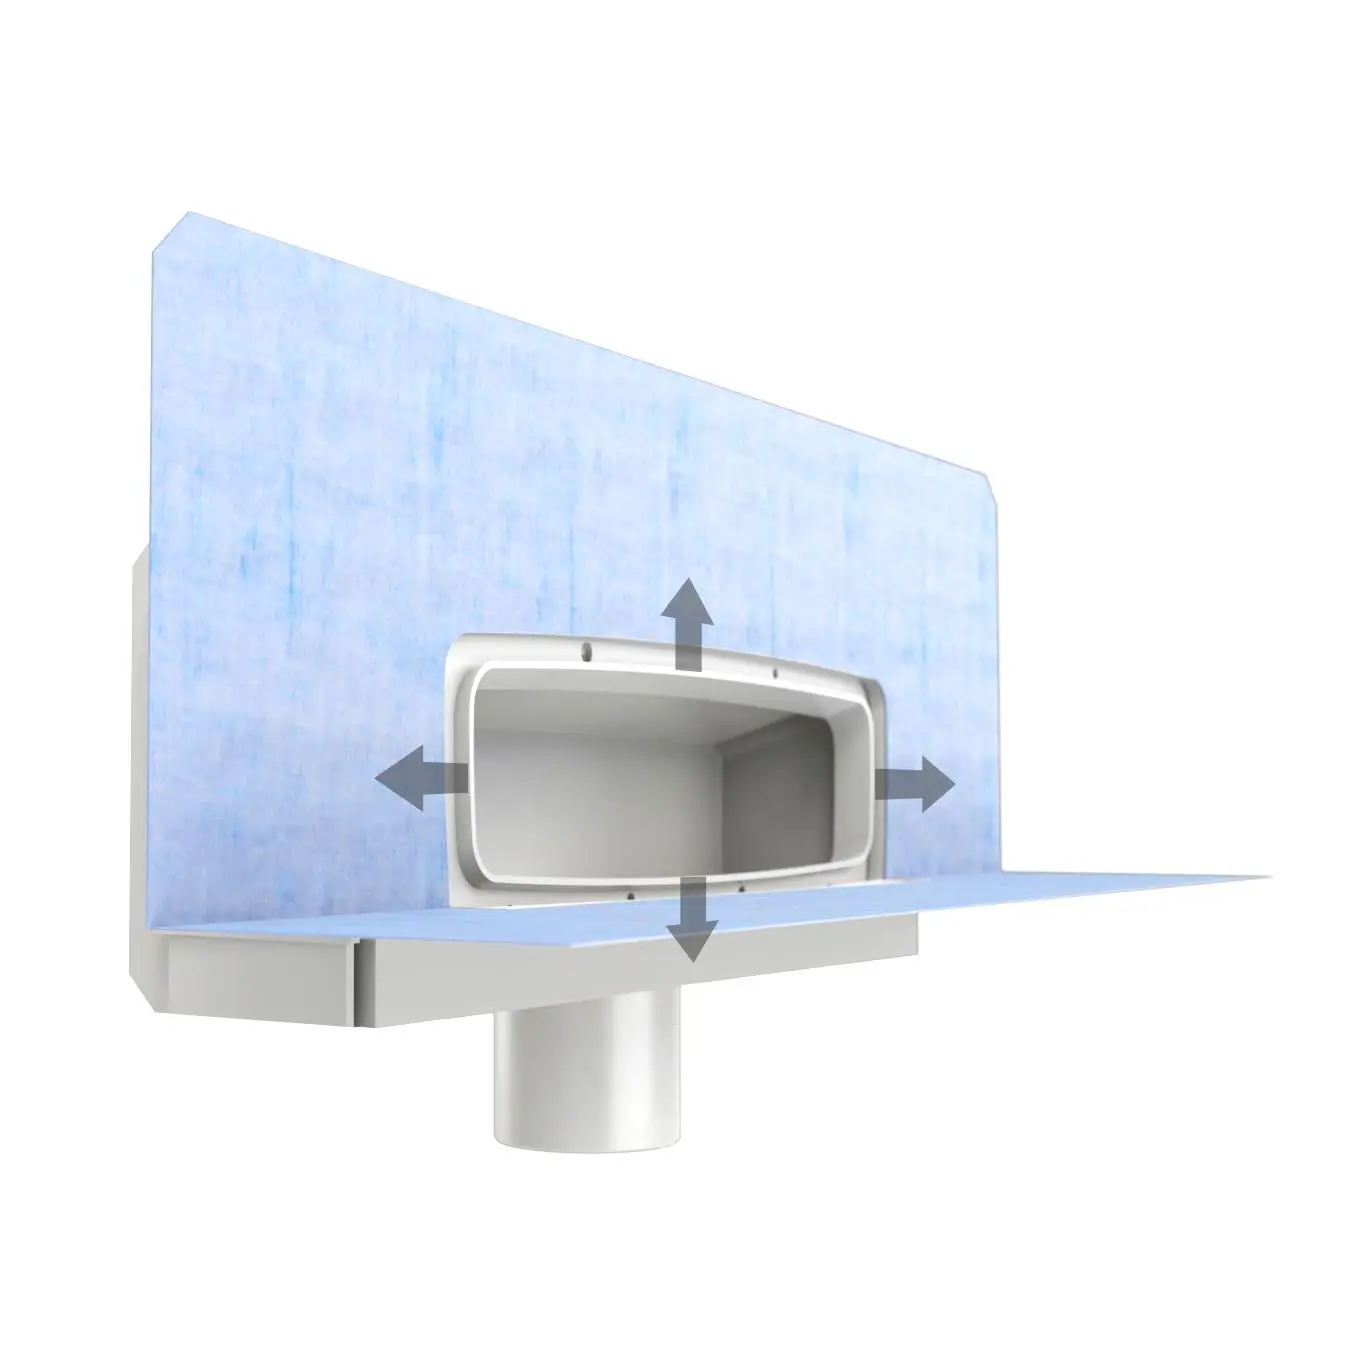
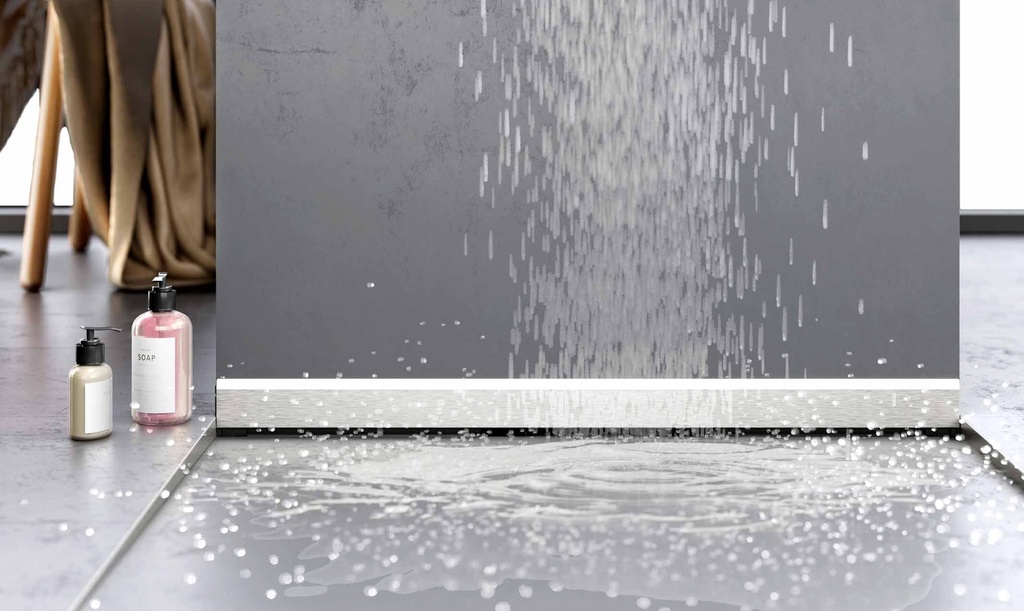
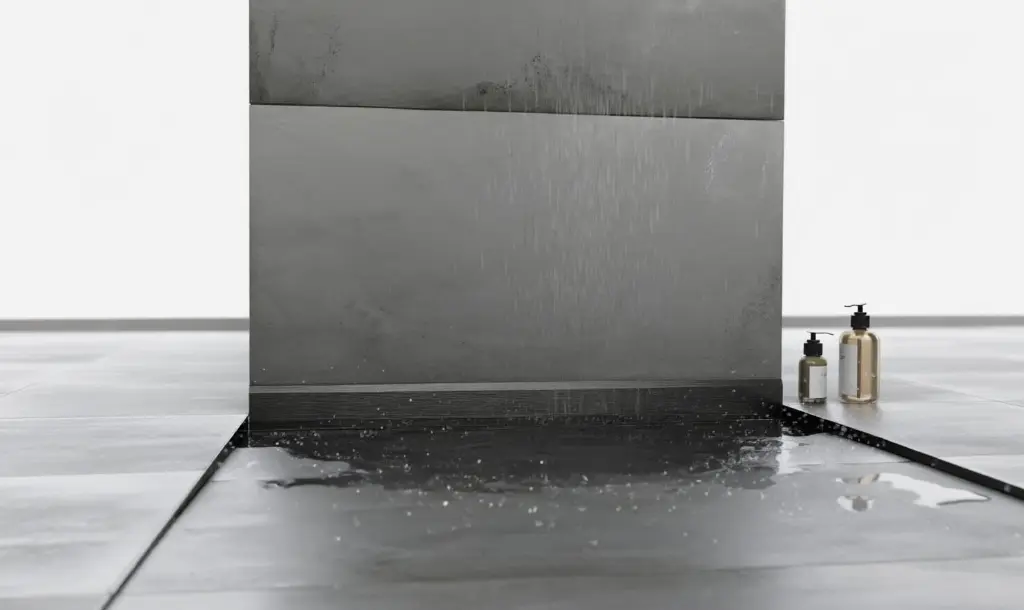
Built-in drain body
Built-in drain body and adjustment flange bring durability and easy installation.
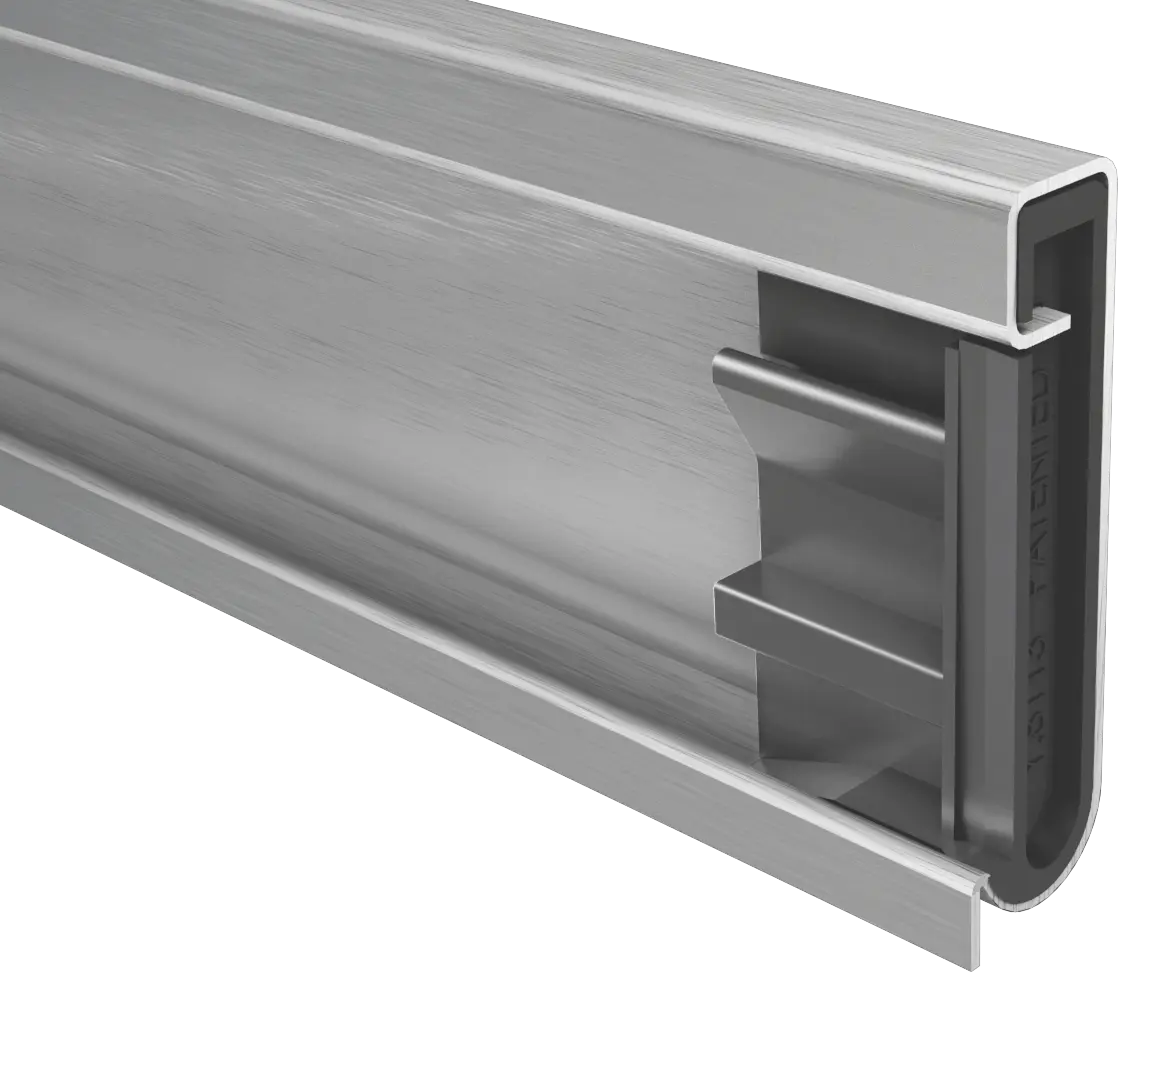
End Piece
Adjustable end cap for easy cutting.
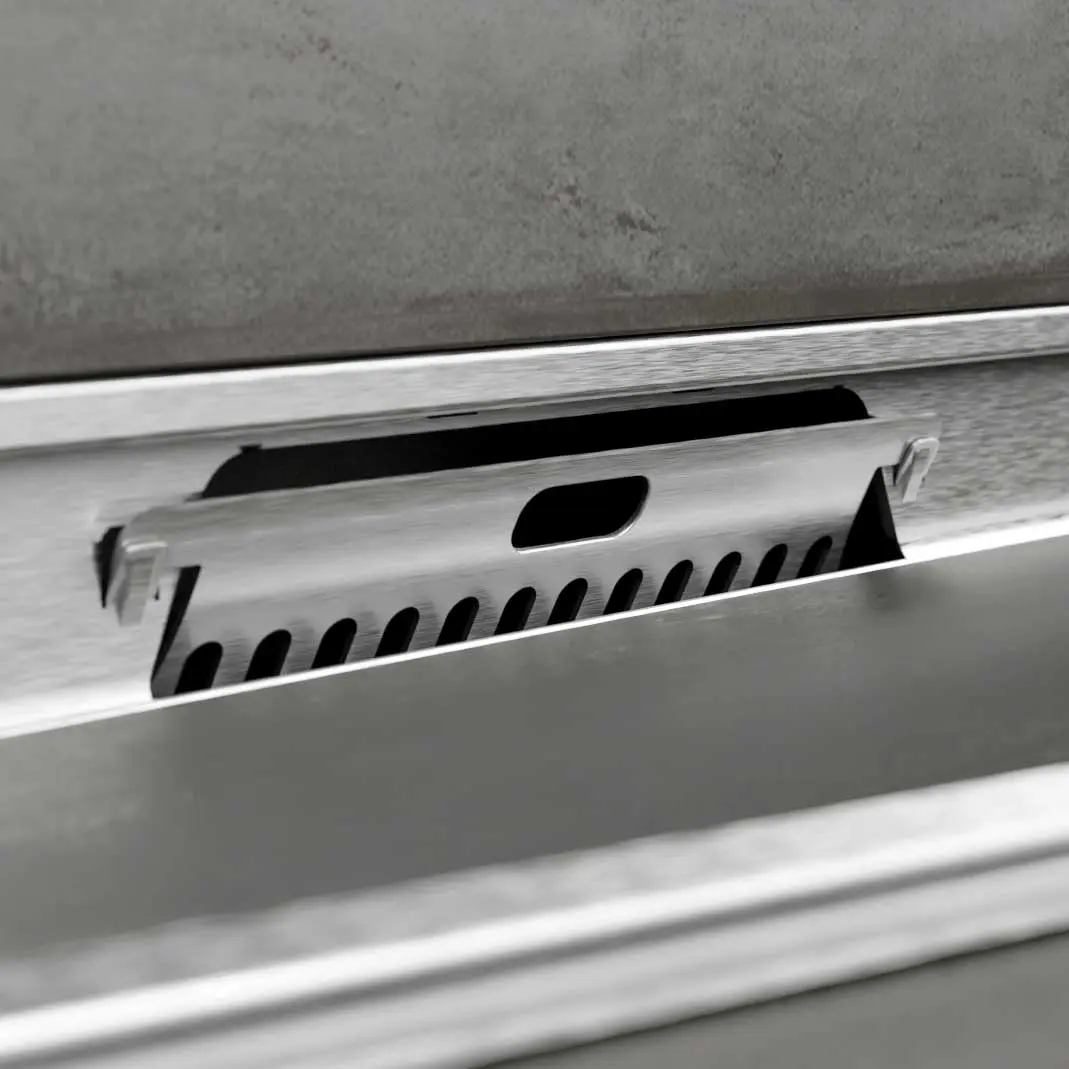
Easy Cleaning
WallLine’s removable hair strainer catches debris and
hair, making cleaning effortless and keeping your drain flowing smoothly.
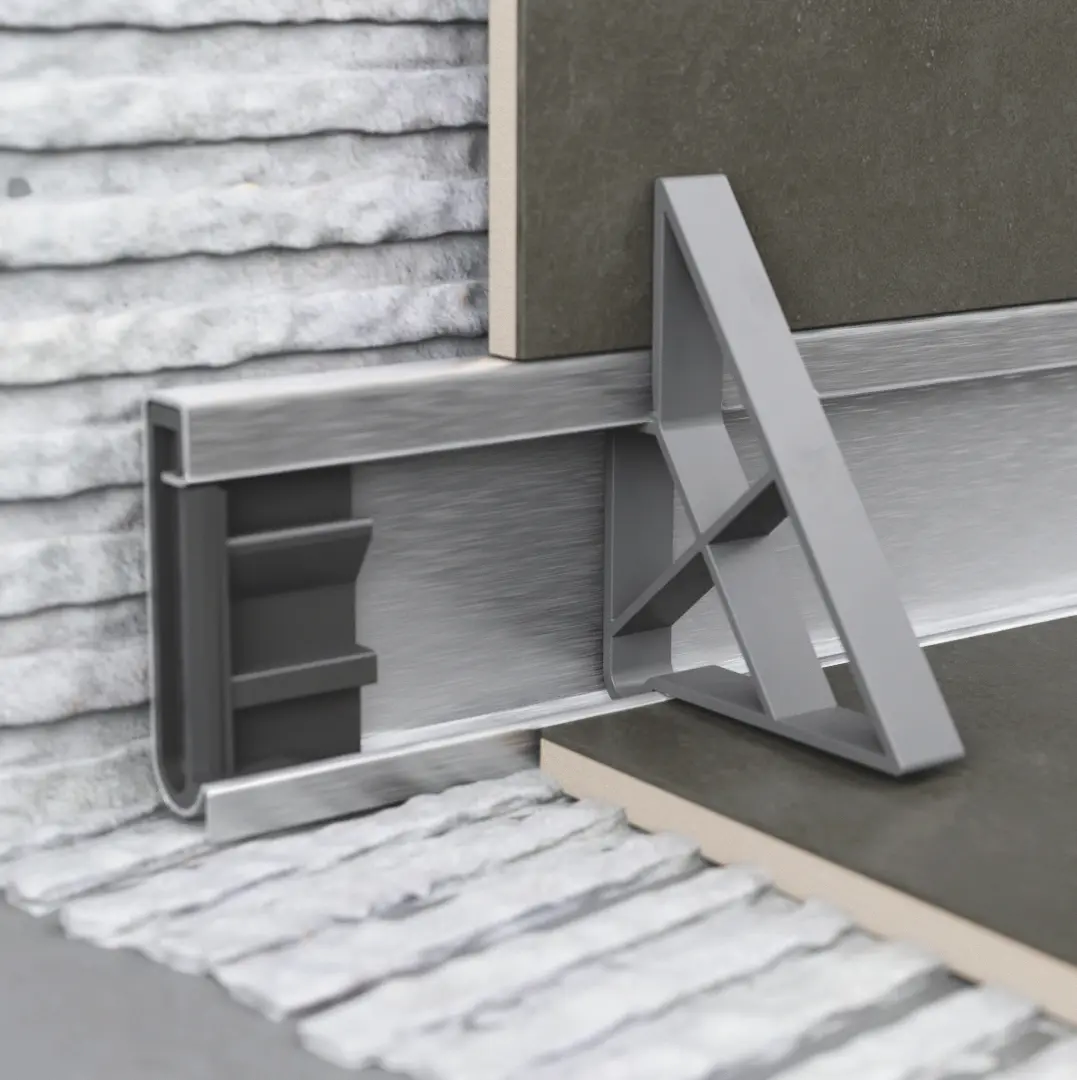
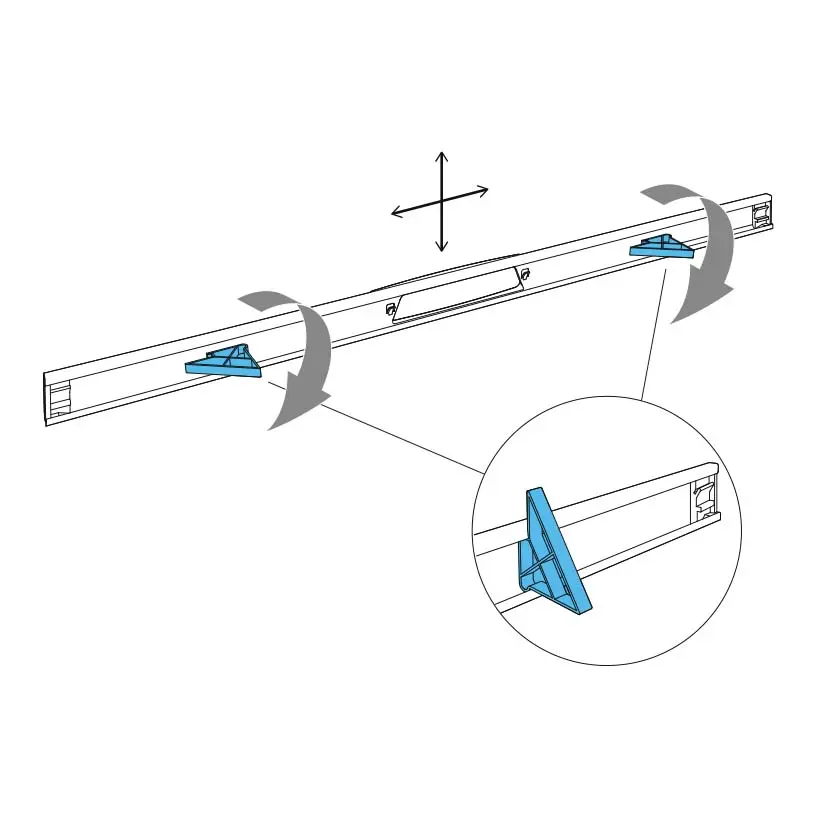
Wall & Floor Adjustment Piece
Patented adjustment piece joins floor and wall tile seamlessly.